
Detailed procedures to setup single tier or unified ingress topology
The prerequisites to deploy the single tier or unified ingress topology is available at Setting up service graph.
Related information
Add VPX or SDX or MPX or BLX instance in NetScaler Console
To get the tier-1 NetScaler instance analytics in service graph, you must add the VPX/SDX/MPX/BLX instance in NetScaler Console and enable Web Insight. You must enable Web Insight for NetScaler Console to display the web transaction details from the VPX/SDX/MPX/BLX instance.
-
Navigate to Infrastructure > Instances > NetScaler
-
Click the Add option to add the instance. For more information, see Add instances in NetScaler Console
-
After adding the instance, select the virtual server and enable Web Insight to view the web transaction details. For more information, see Manage licensing and enable analytics on virtual servers
Add Kubernetes cluster in NetScaler Console
To add the Kubernetes cluster:
-
Log on to NetScaler Console with administrator credentials.
-
Navigate to Infrastructure > Orchestration > Kubernetes > Cluster. The Clusters page is displayed.
-
Click Add.
-
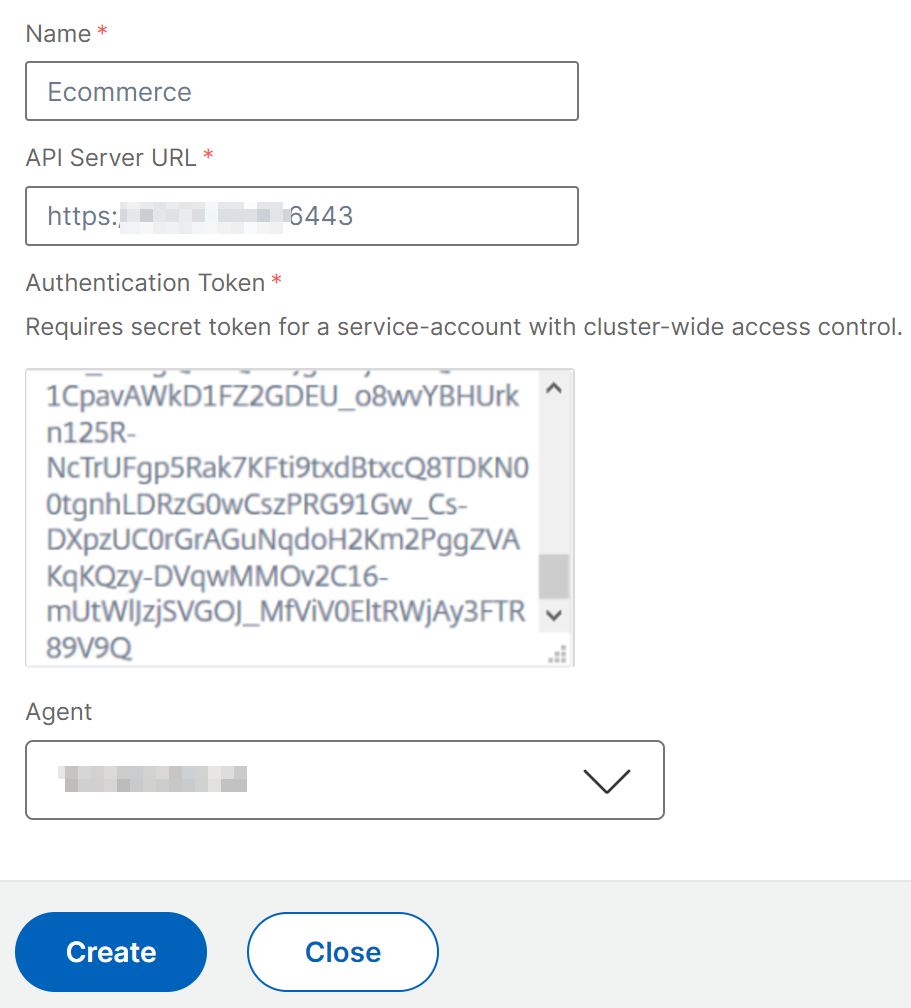
In the Add Cluster page, specify the following parameters:
-
Name - Specify a name of your choice.
-
API Server URL - You can get the API Server URL details from the Kubernetes Master node.
-
On the Kubernetes master node, run the command
kubectl cluster-info.
-
Enter the URL that displays for “Kubernetes master is running at.”
-
-
Authentication Token - Specify the authentication token. The authentication token is required to validate access for communication between Kubernetes cluster and NetScaler Console. To generate an authentication token:On the Kubernetes master node:
-
Create a service account by using the YAML.
kubectl create -f adm_svc_account.yamlThe service account is created. -
Run
kubectl create clusterrolebinding citrixadm-sa-admin --clusterrole=cluster-admin --serviceaccount=default:citrixadm-sato bind the cluster role to service account.The service account now has the cluster-wide access.A token is automatically generated while creating the service account. -
Run
kubectl describe sa citrixadm-sato view the token. -
To get the secret string, run
kubectl describe secret <token-name>.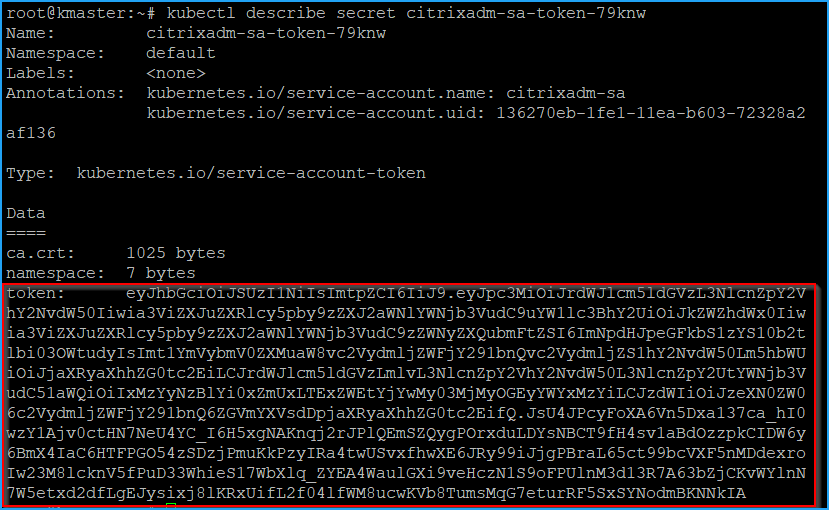
-
-
Select the agent from the list.NoteEnsure to select the same agent that you have added in the CPX YAML.
-
Click Create.
-