
Configure L4-L7 parameters from NetScaler ADM using StyleBook
May 24, 2018
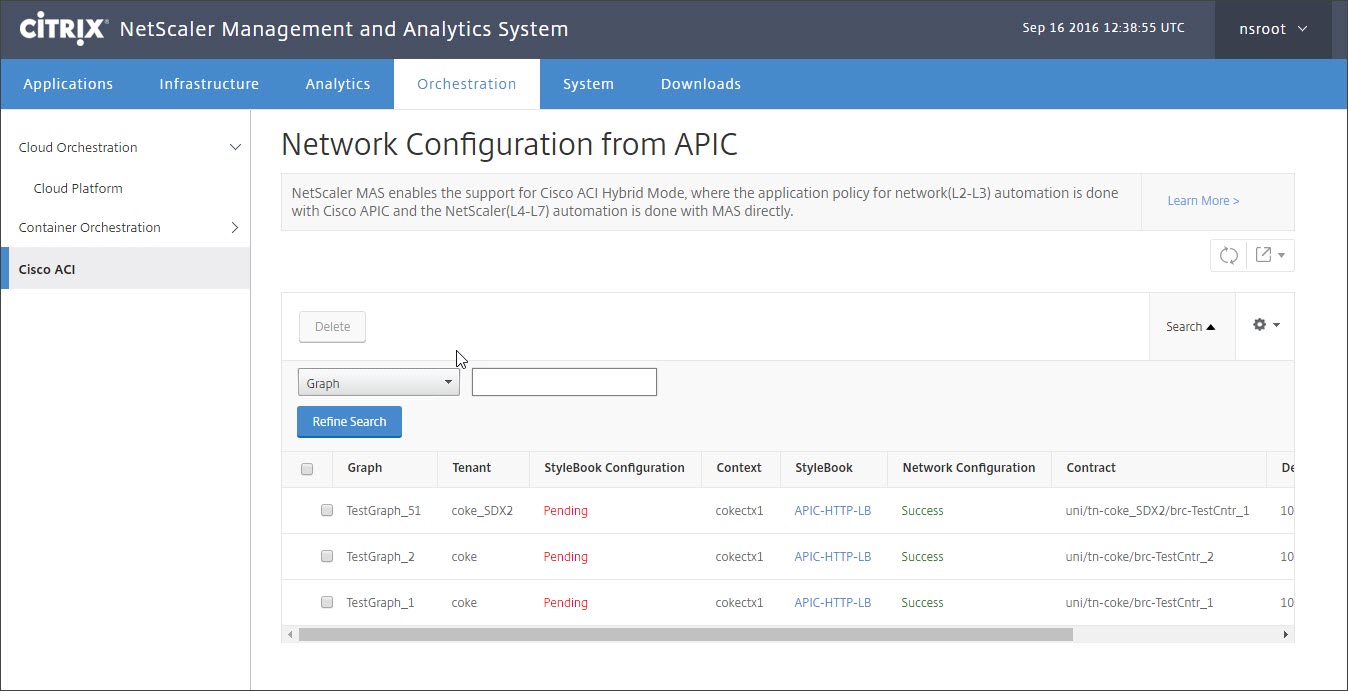
In NetScaler Application Delivery Management (ADM), you can view the deployed service graph details on the Orchestration tab, under Cisco ACI. The tabular view shows the service graph details such as graph name, tenant name, context, StyleBook name, and network configuration status.
Note
If the graph is deleted from the Cisco APIC, the corresponding configuration is removed from the device, including the L4-L7 configuration.
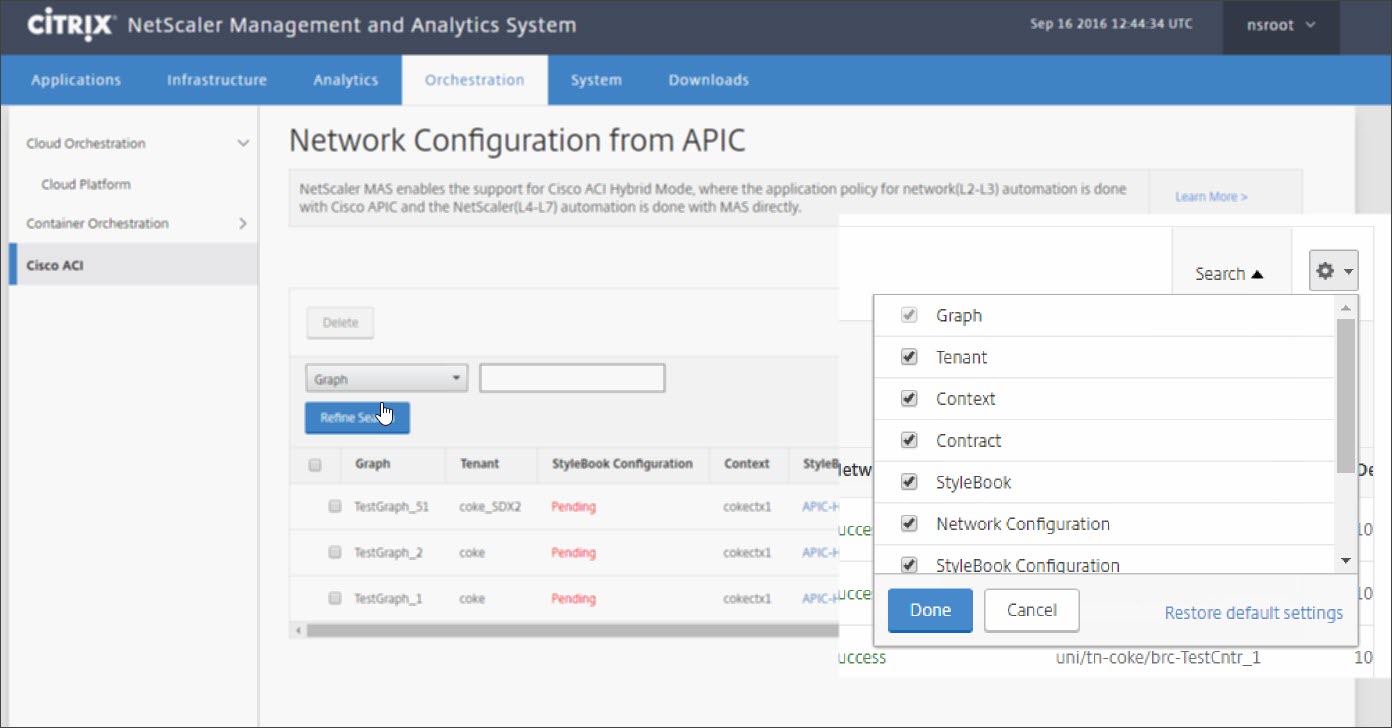
Additionally, the tabular view allows you to sort on any column displayed in the table and filter the data by using the Search option. You can also customize the column details by selecting or unselecting the column names from the drop-down column list:
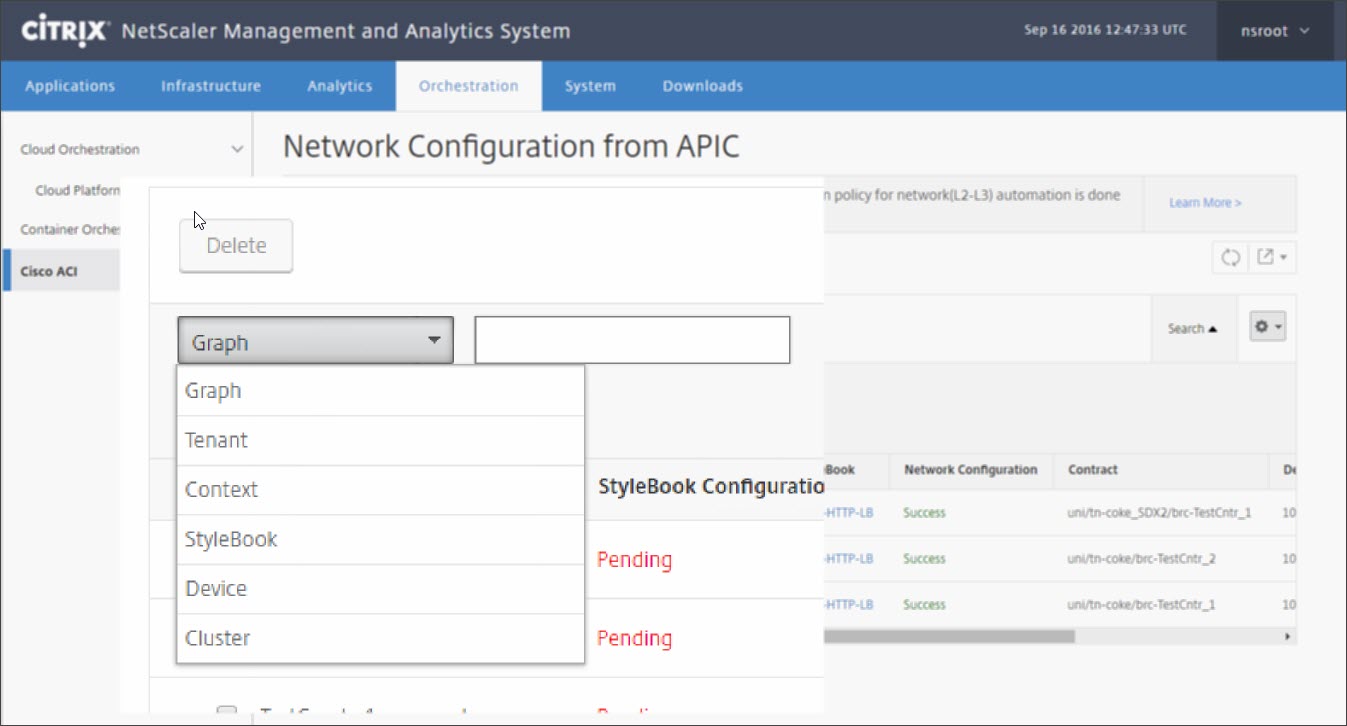
Also, you can click the Search button and use the search options to filter the data. You can select any column from the drop-down box and enter a corresponding value to filter the data displayed in the table.
Note
The Search functionality is case-sensitive, and you must provide the exact search criteria.
To deploy L4-L7 configuration by using StyleBook in NetScaler ADM:
-
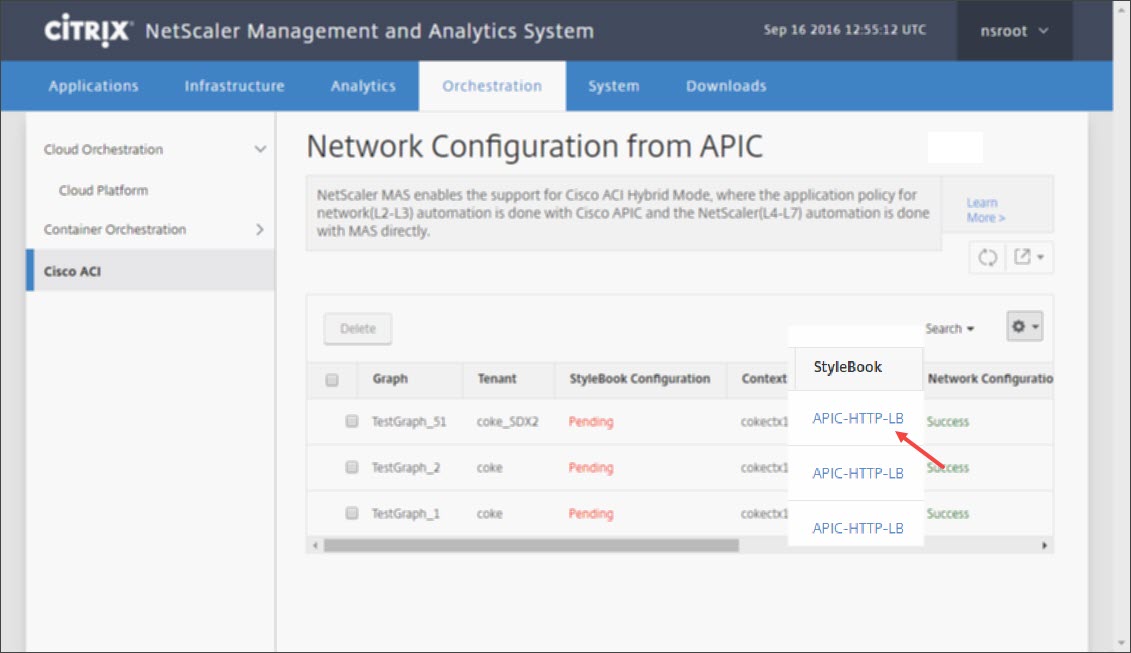
Click the StyleBook name that appears as a URL in the tabular view.
-
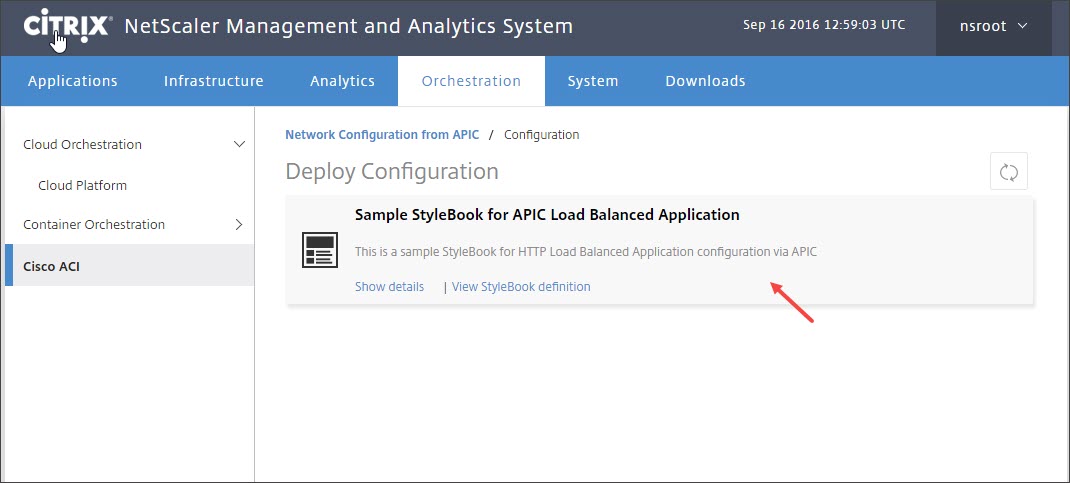
In the Configuration window, double-click StyleBook.
-
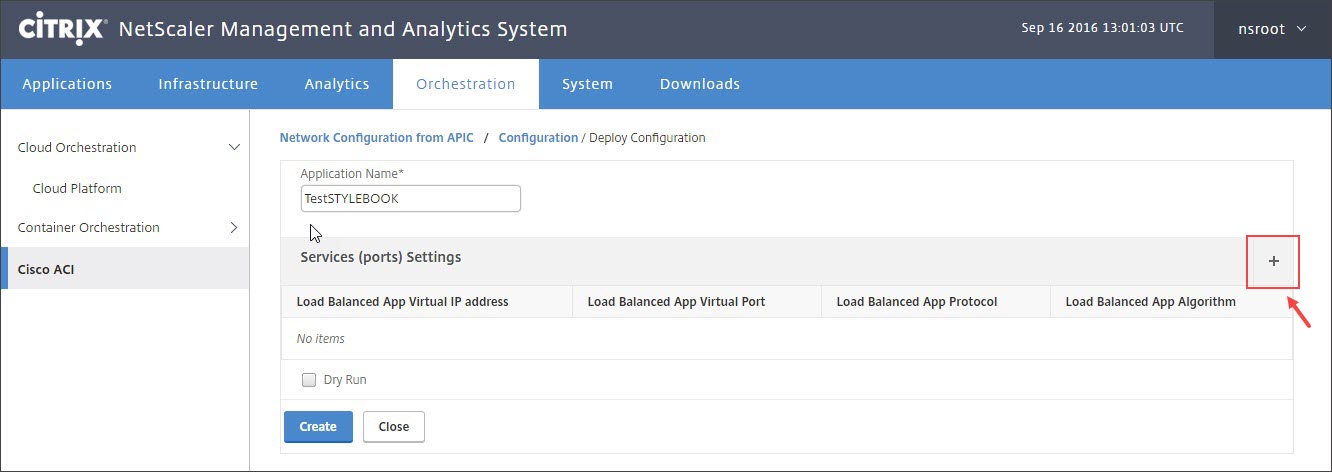
In the Deploy Configuration window, do the following:
-
In the Application Name field, enter the name for the ADC feature configuration that corresponds to the application’s service graph in the APIC.
-
In the Service (ports) Settings section, click +.
-
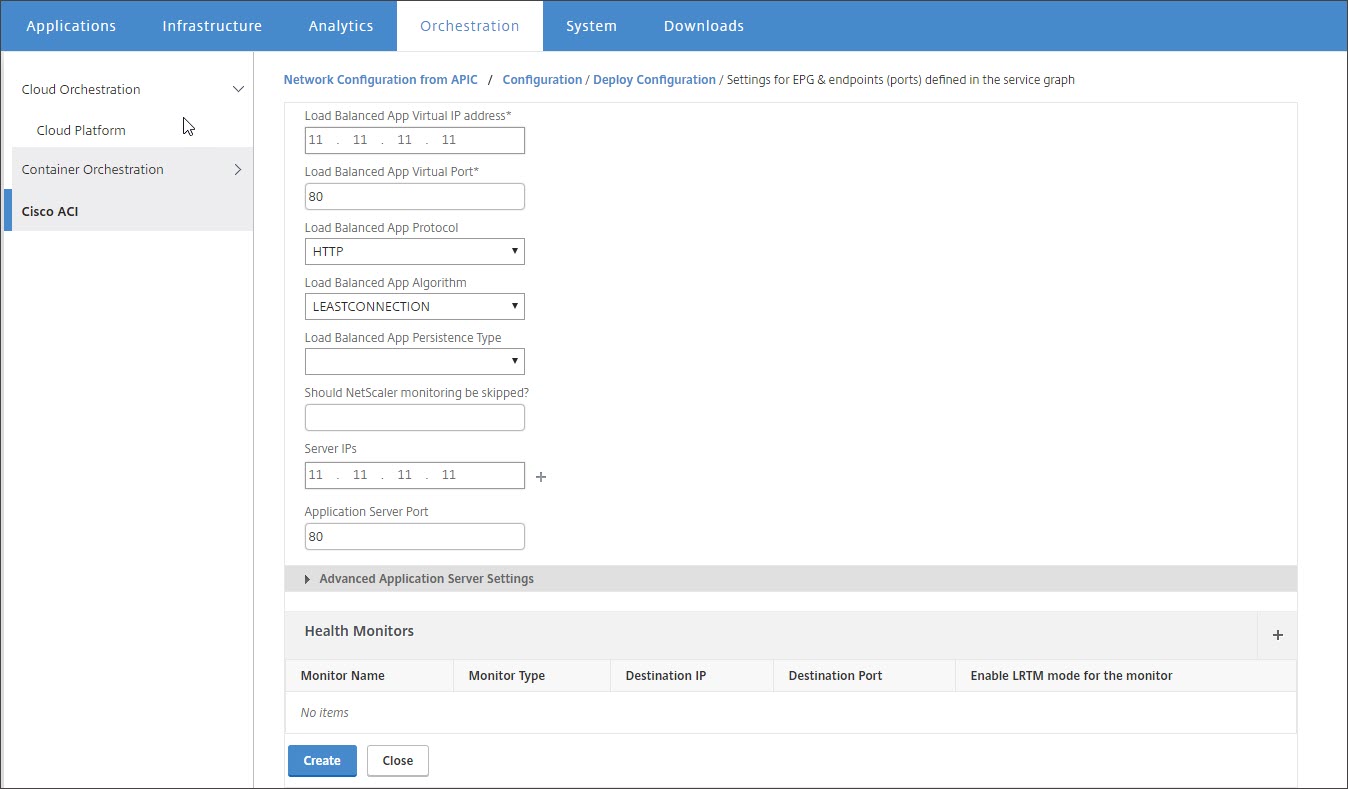
In the Settings for EPG & endpoints (ports) defined in the service graph window, enter values for the parameter populated from the StyleBook and click Create.
-
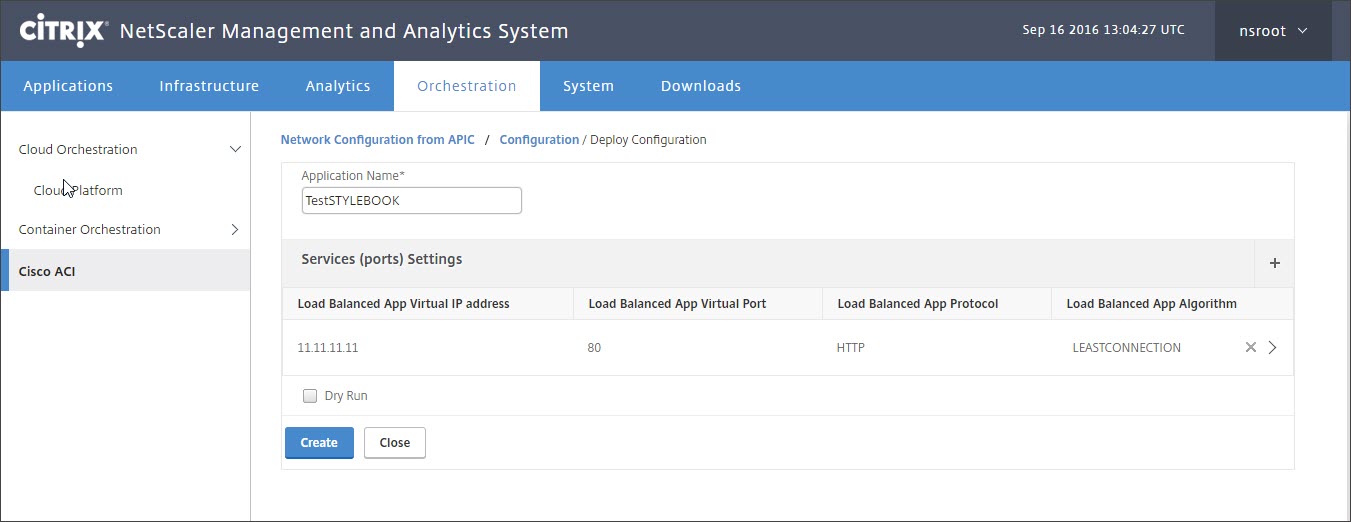
Click Create.
-
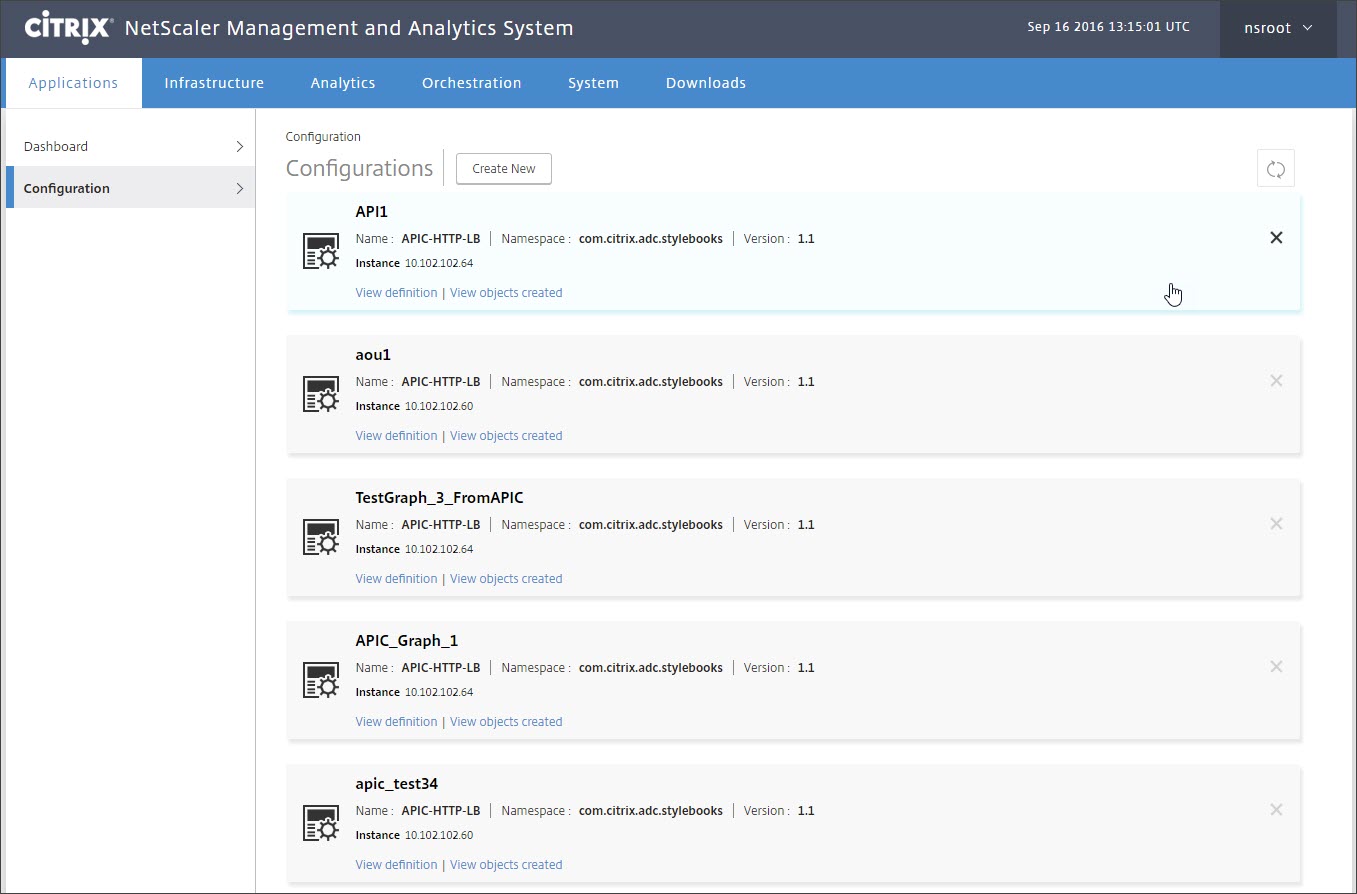
The L4-L7 configuration specified in the StyleBook is deployed, in NetScaler ADM. You can view the StyleBoook configuration from the Application tab, by navigating to Application \> Configuration.
Related information